Making changes
Alice and Bob have been using their savings wallet for a couple of years now and everything has worked smoothly so far. On this page we will take a look at what happens if they need to make changes to their setup. If users are storing bitcoin over a long enough period of time, there are a couple of scenarios that they might run into:
- They need to replace a key that has been lost.
- They want to change the basic wallet configuration.
How it works
When users need to make changes to their multisig wallet, such as replacing a key or modifying the wallet configuration, the process involves creating a new wallet and transferring funds. Here’s how the process works from Bob’s and Alice’s perspective:
- Bob makes the desired changes, which creates a new wallet
- He shares the new wallet with Alice for setup in her application
- Bob and Alice activate the new wallet on all three primary signing devices
- They save and store the new wallet recovery kit as described in the backup page
- Transfer all funds to the new wallet
- Archive the old wallet to manage any future incoming funds
Replacing David’s signing key
Let’s assume that David, one of the heirs, has lost his signing device. Fortunately, it is part of the inheritance key set, which is restricted by a timelock, as we have covered here. Although David still has his seed phrase backup, the Joneses decide to replace David’s key as a precautionary measure. They would follow the same approach if David had lost the seed phrase backup or suspected it had been compromised.
Adding the new key
After David received the new signing device, he exports the extendend public key (XPUB), just like he did during the wallet creation process. He then shares it with his parents via a shared chat on Signal.
The prototype below lets you click through the key replacement flow:

Once he receives David’s XPUB, Bob opens our application and navigates to the wallet settings. On the wallet settings page, Bob goes to the signing keys page. From there, the app guides him through the key replacement flow. It starts with a short explanation dialog that outlines how the process works.

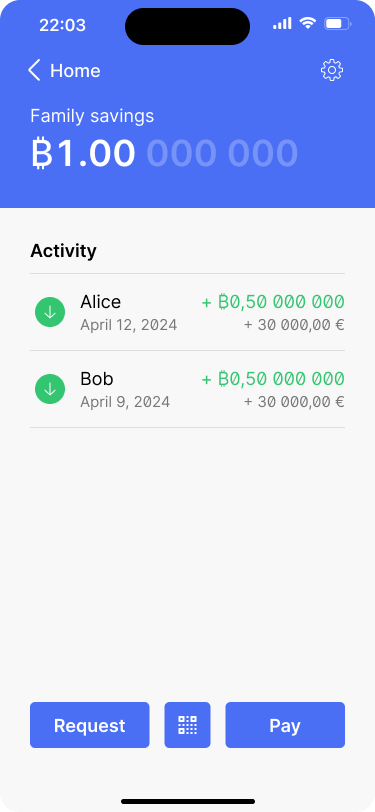
Bob navigates from the home screen to the wallet overview screen.

He taps on the settings icon in the top right corner of the screen.

In the wallet settings, he drills into the signing keys section.
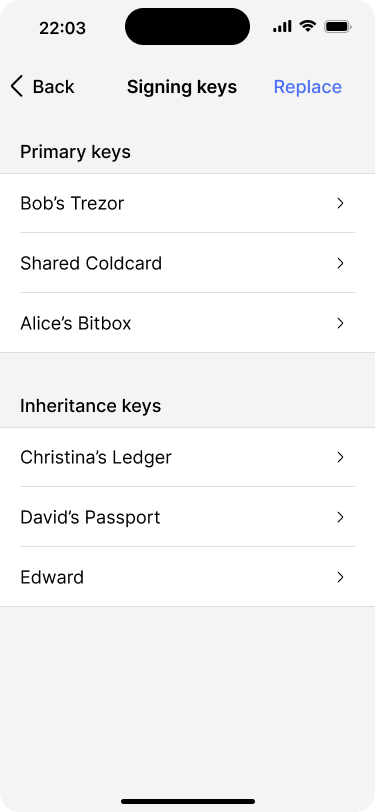
The app shows a list of all signing keys. Bob taps the “replace” button.
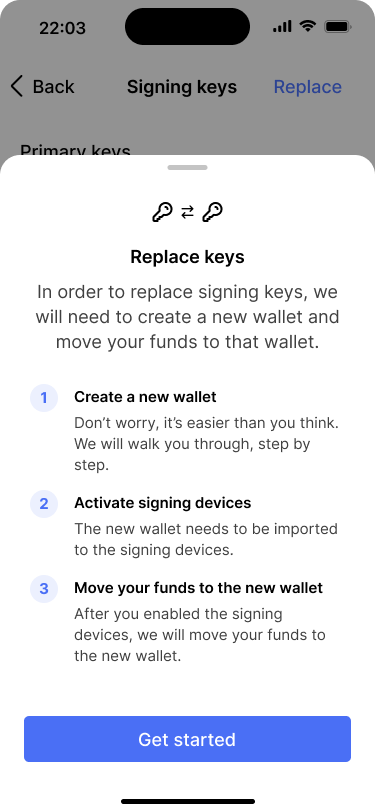
A dialog pops up that explains how the process will work and what needs to be done.
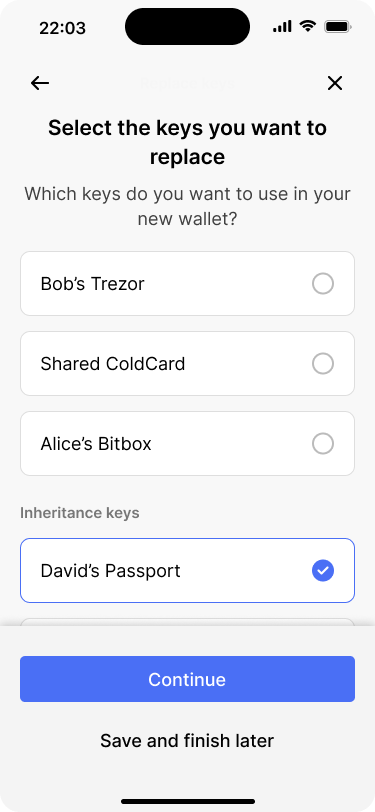
Bob selects the key that needs to be replaced.
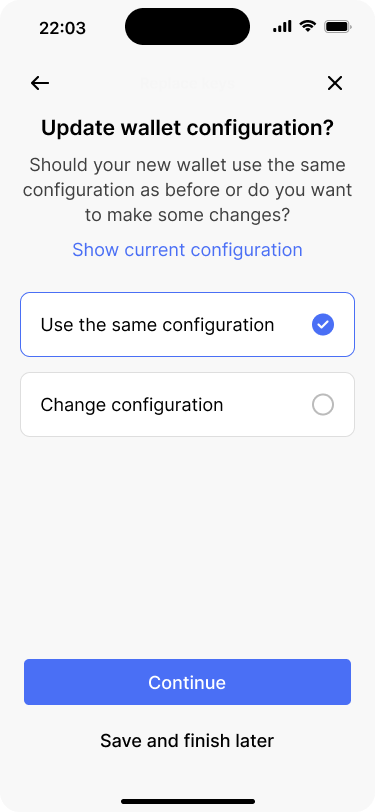
The app asks, whether Bob also wants to change the wallet configuration in addition to replacing the key.
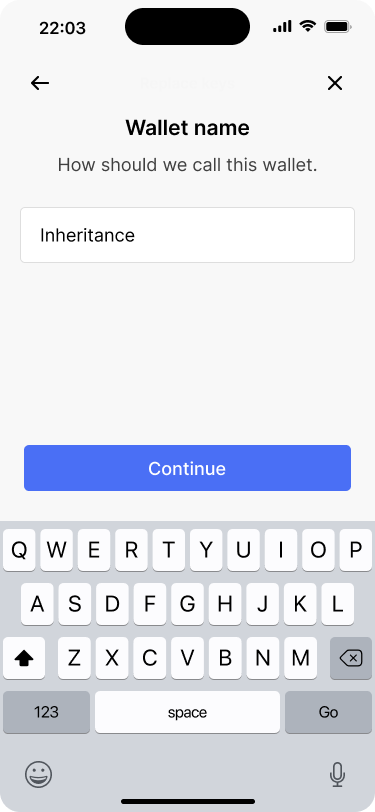
Because a new wallet will be created, the app lets Bob change the name of the wallet.
The app then asks which of the keys Bob would like to replace. Bob selects David’s Passport from the list of keys. On the next screen, the app gives Bob the option to change the wallet configuration as well. But he only needs to replace David’s key, so he continues with the same configuration. He does, however, choose a different name for the new wallet.
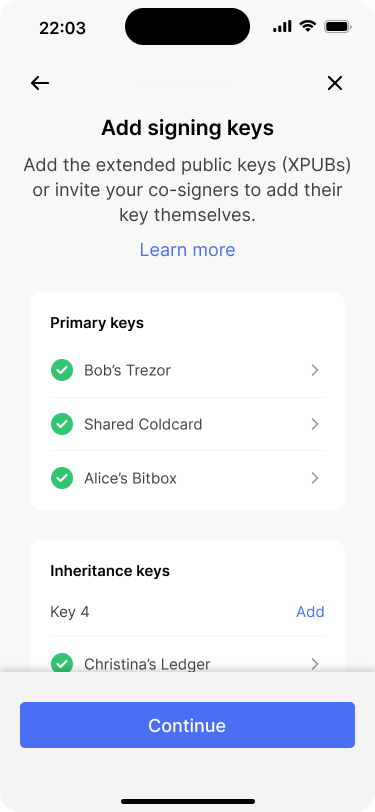
The next step is to add David’s new extended public key. This works in the same way as during the initial wallet creation. On the wallet review screen, the app indicates that a new signing key has been added. Bob reviews the changes and hits “create wallet.”
Bob starts adding David’s new key.
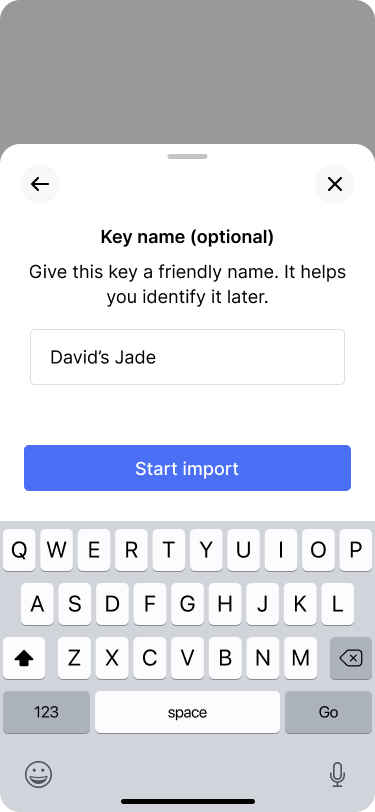
David uses his new key with a Jade signing device.
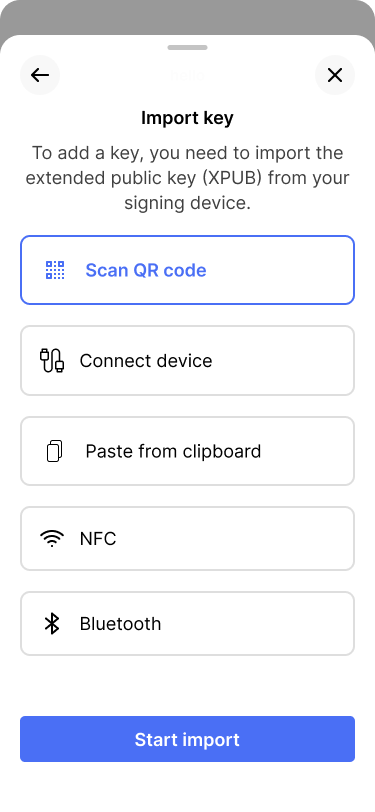
Bob chooses to scan the key via a QR code.
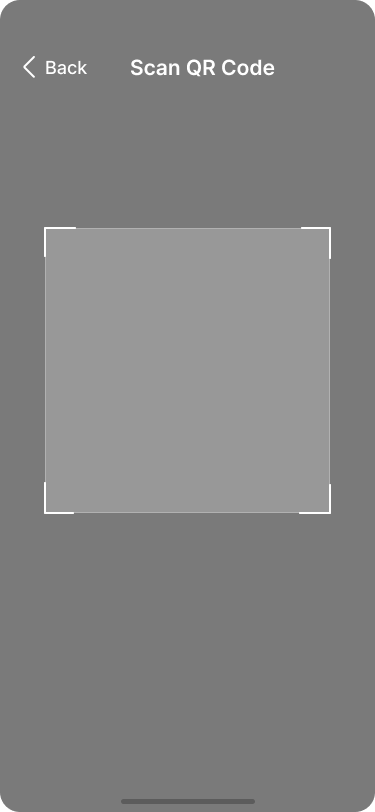
Bob scans the extended public key that is displayed on the Jade.
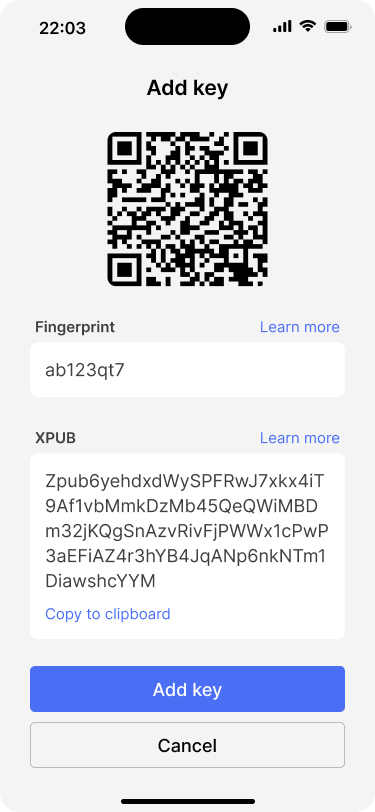
Bob makes sure that the key information matches with what is displayed on the Jade.

The new key is now part of the inheritance key set.
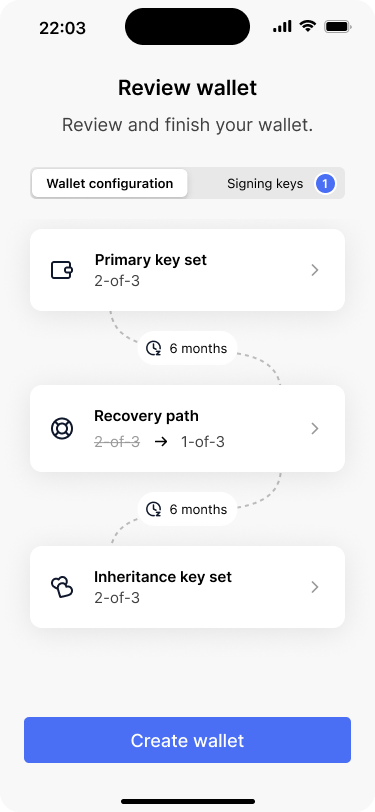
The wallet review screen indicates that there is a new signing key.
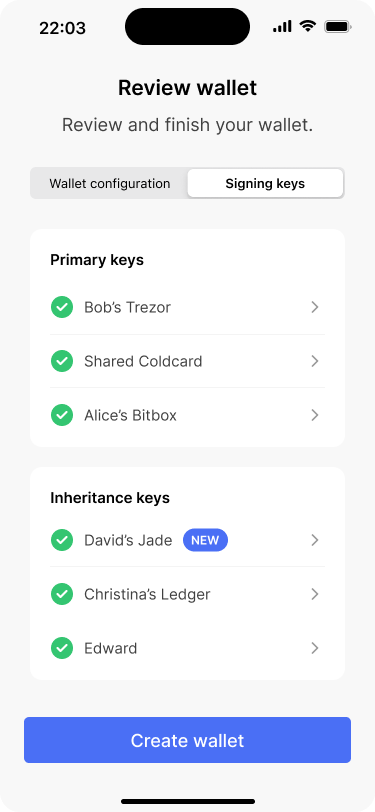
In the “signing keys” tab, the new key is clearly indicated.
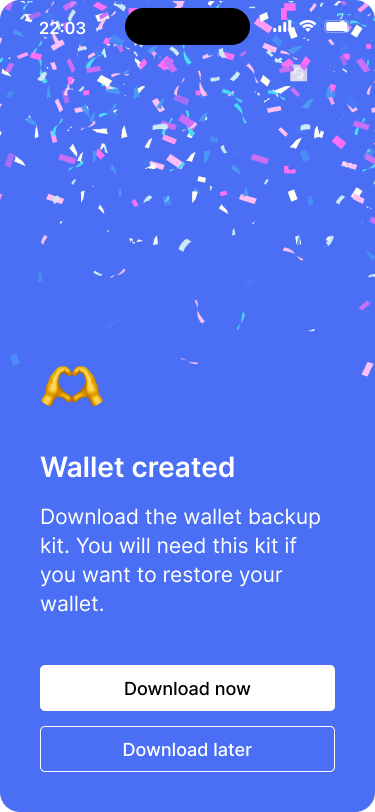
The wallet has been created.
Cosigner setup, device activation and wallet backup
The new inheritance wallet is now created. Just like during the initial wallet creation, Alice and Bob now need to:
- Share the wallet configuration with Alice, so that she can set up the wallet on her app
- Activate the new wallet on all of their signing devices
- Save the backup kit for the new wallet
We have covered these topics in the previous pages of this reference design.
Moving funds to the new wallet
Now that the new wallet is ready, Alice and Bob need to transfer their savings to this new wallet. Again, our app shows this in the form of a reminder.
Bob creates and signs the transaction
Bob taps on the reminder and initiates the transaction creation process. Because the app is aware of both wallets, it can prefill most of the information in the send flow, such as the recipient address and the transaction amount. After creating the transaction, Bob signs it with his Trezor right away.
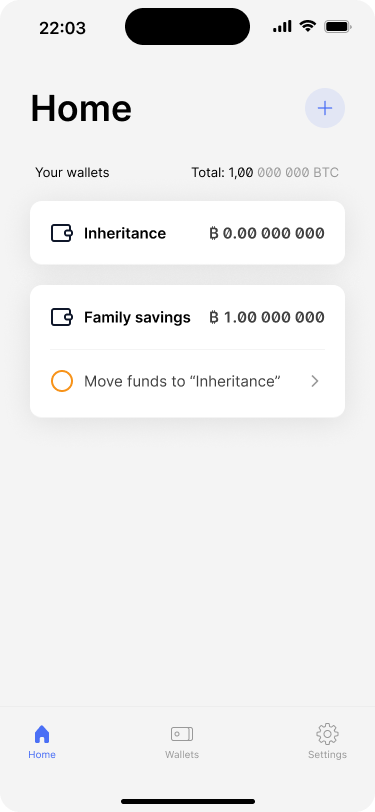
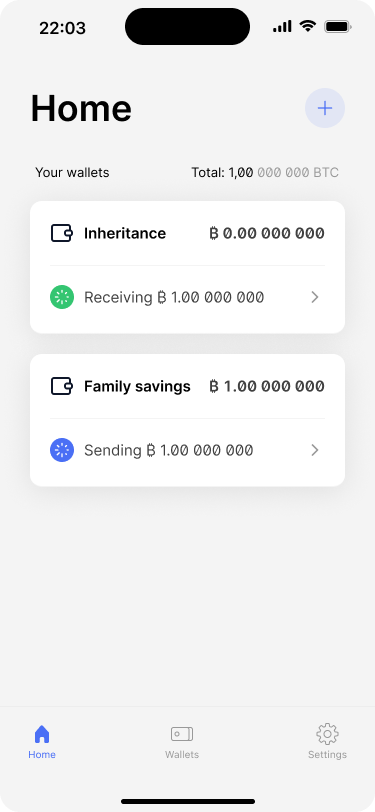
After the “Inheritance” wallet has been backed up, the app shows a new task on the “Family savings” wallet to move the funds.

A short dialog pops up that explain why it is necessary to move the funds.
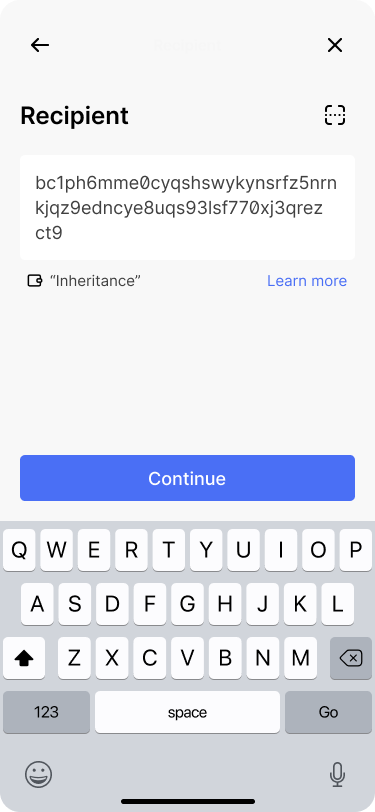
The app prefills the recipient address. It also indicates the destination wallet’s name so Bob can be confident that the destination is right.
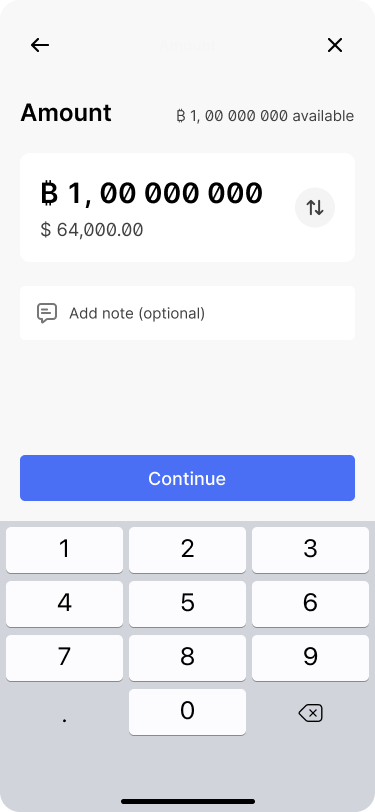
Since all funds need to be moved, the app also prefills the amount to be sent to be the full amount.
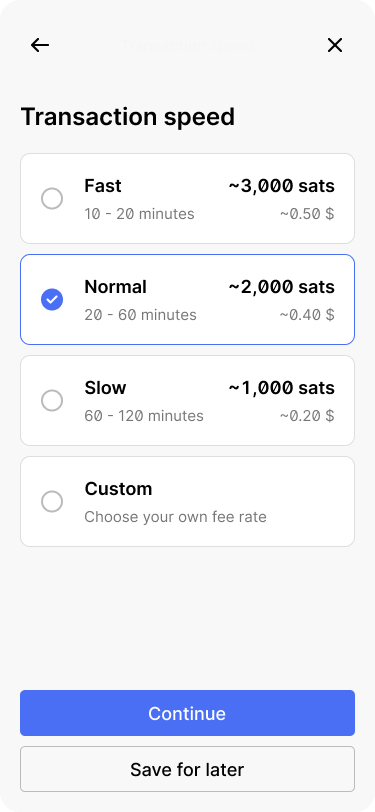
Bob selects the transaction speed.

Bob creates the transaction. He could also edit the details without having to go through the entire flow again.

The success dialog lets Bob know that the transaction needs to be signed before it is final.
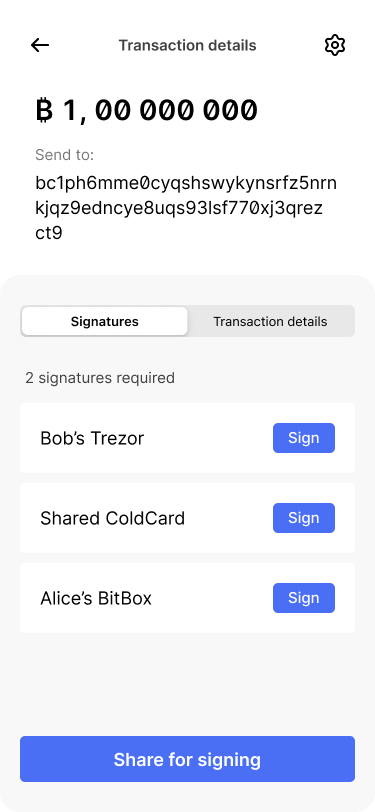
On the transaction detail screen, Bob continues to sign the transaction with his Trezor.

The app takes him through the signing flow.
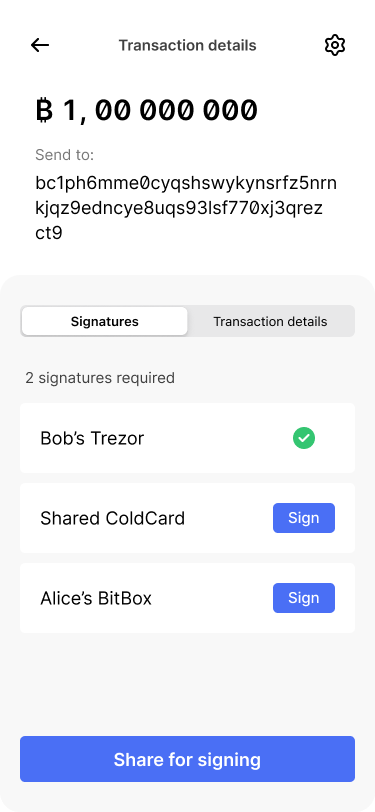
The transaction details screen shows that the first signature has been provided.

Bob shares the partially signed transaction with Alice.
The transaction is now ready for Alice to sign as well. However, there is no central server coordinating or automatically syncing transaction information between Bob and Alice’s devices, because our app aims to work in the most self-custodial way possible.
This means that Bob has to manually share the partially signed bitcoin transaction (PSBT) with Alice. Our app offers a variety of different sharing options. Bob chooses to generate a QR code, so that Alice can scan it conveniently.
Alice co-signs the transaction
Alice opens the wallet app on her phone, selects the family savings wallet and hits send. In the send sheet she taps “sign transaction” and uses the QR scanner to import the partially signed transaction from Bob’s phone.

Alice’s app shows that a transaction is ready to be signed.

Alic taps the pay button on the wallet overview screen.
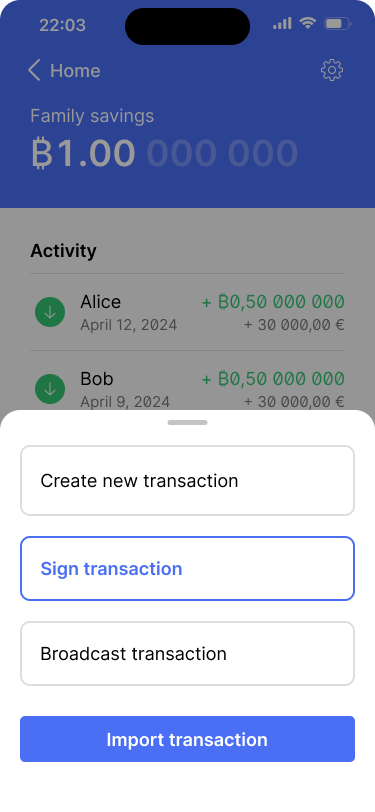
She selects sign transaction from the options.
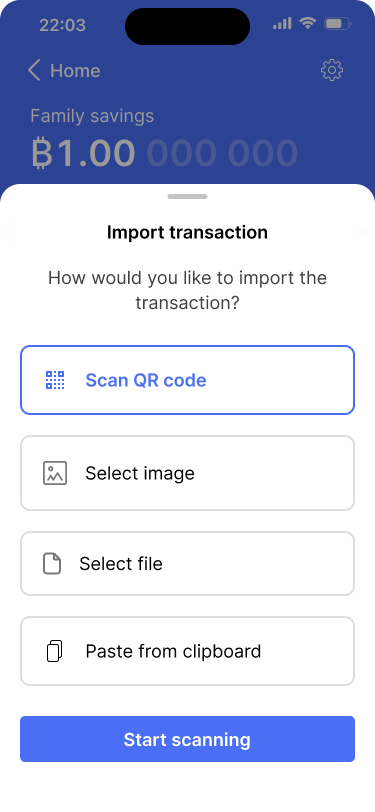
Alice chooses the scan QR code option.

Alice scans the QR code from Bob’s phone.
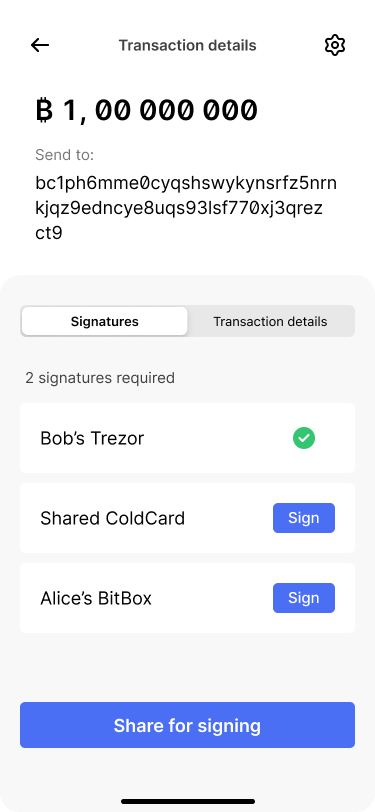
Alice goes on to use her BitBox to provide the second signature.

The app takes her through the signing flow.
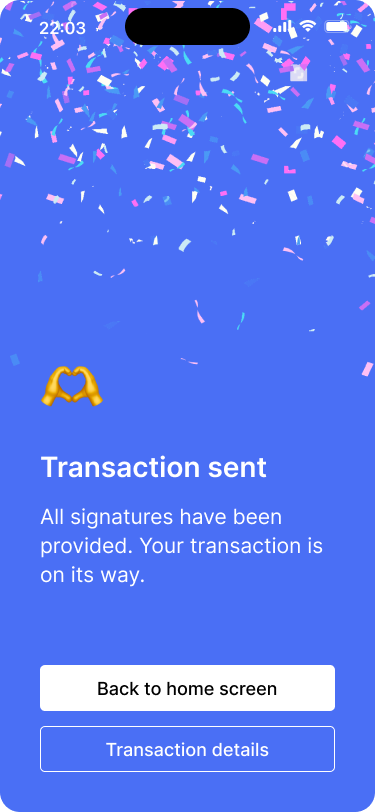
With Alice’s signature the required threshold has been reached and the transaction is finalized.
Back on the home screen, the transaction is shown until it is confirmed by the network.
Once imported, Alice’s app displays the transaction details, showing that it has been signed by Bob and requires her signature to complete. Alice reviews the transaction details and initiates the signing process.
After she completes the signing flow with her BitBox, the app automatically broadcasts the fully signed transaction to the Bitcoin network. If she would like to have more control and broadcast transactions manually, Alice could change this behavior in the app settings.
Back on the home screen, Alice sees that the transaction is being confirmed by the network. After it has been confirmed, the app shows a reminder that the original wallet should be archived.
Archiving the old wallet
Archiving unused wallets removes complexity and helps users focus on the wallets they actively use. Archiving a wallet does not delete it from the app. It is only removed from the home screen and from the wallets tab.
The app will still monitor the bitcoin blockchain for incoming transactions. If there are any, they are shown on the home screen and in the wallets tab. Users can then transfer the funds to a wallet that they actively use. This is why it is important to keep the backup kit and at least one of the primary keys of every wallet.
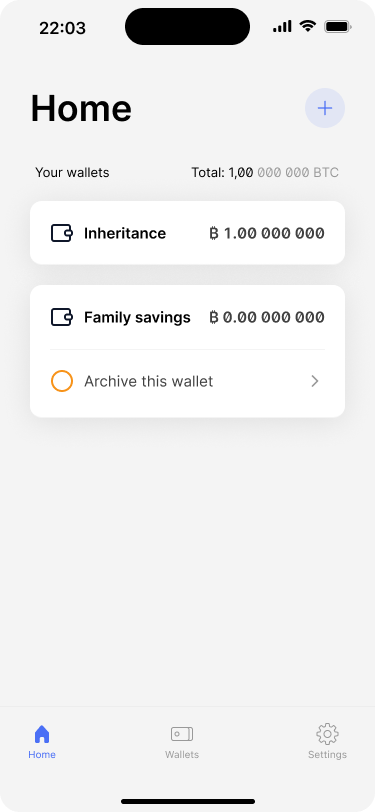
The home screen shows a task to archive the now empty wallet.
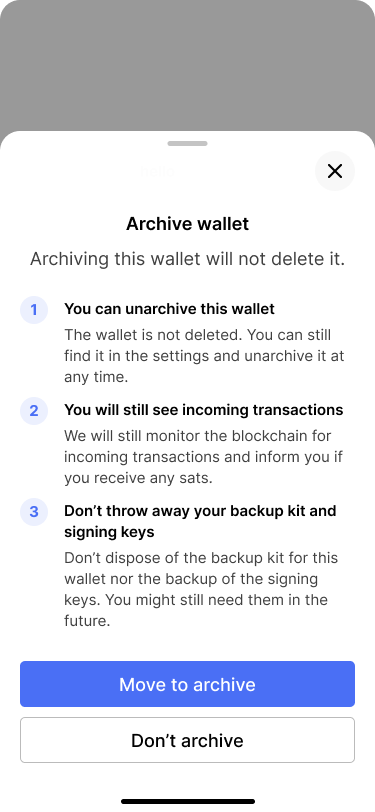
It is important to explain what archiving means and that users should always keep their backups of the old wallet as well as of their keys.

The success dialog explains where archived wallets can be accessed.
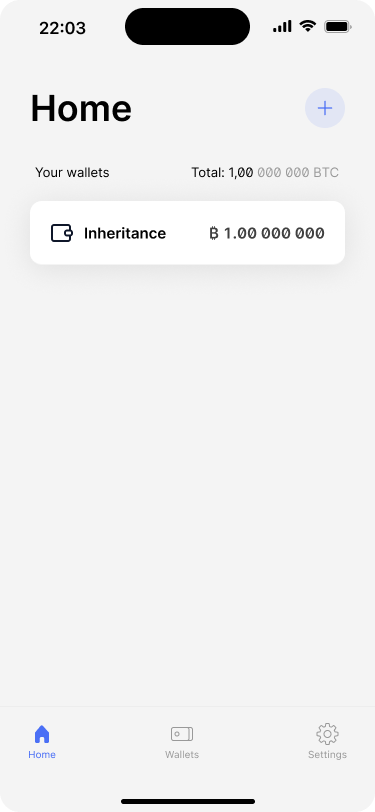
The home screen now only shows the actively used wallet.
Alternative approach
As you can see, making changes to a multi-key wallet can be a tedious process. An alternative to replacing David’s key would be for David to simply import the backup of his existing private key into a new signing device. This approach has some advantages:
- Simplicity: It doesn’t require creating a new wallet or moving funds, which incurs transaction fees.
- Convenience: Other family members wouldn’t need to be involved in the process
However, there are also significant downsides:
- Security risk: If the original device was stolen rather than just lost, the thief might eventually gain access to the private key, putting the funds at risk
- Potential compromise: If there’s any chance the seed phrase backup was exposed or compromised, using it again could jeopardize the wallet’s security
In a multi-key setup, a single compromised key doesn’t immediately put the funds at risk because multiple keys are required to authorize a transaction. In addition to that, the inheritance key set is protected by the timelocks that Alice and Bob have put in place. However, it does reduce the overall security of the wallet.
Changing the wallet configuration
If the Joneses would want to change only the wallet configuration the process would be the same. In the example below, Bob changes the activation timelock for the recovery path and the inheritance key set from 6 months to 12 months. After the new wallet is created, the process will be the same as described above.

Bob navigates from the home screen to the wallet overview screen.
He taps on the settings icon in the top right corner of the screen.
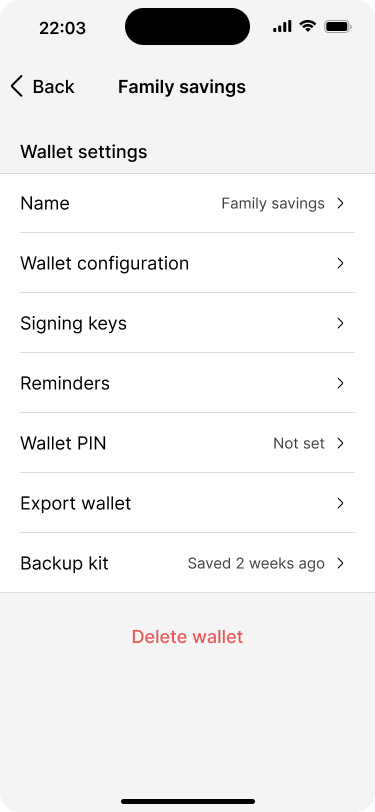
From the wallet settings he goes to the wallet configuration screen.
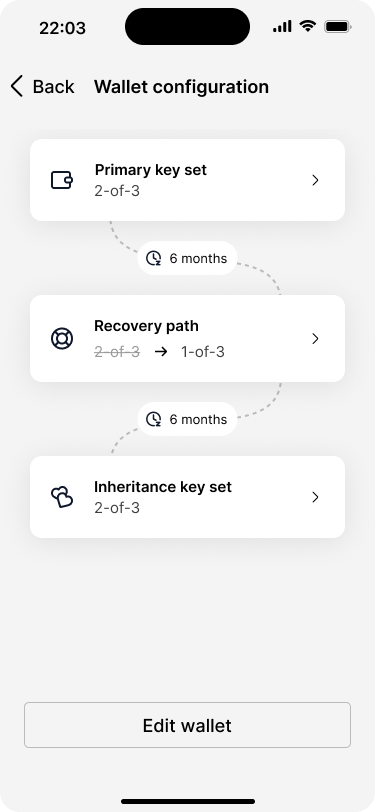
The app shows an option to edit the wallet configuration.
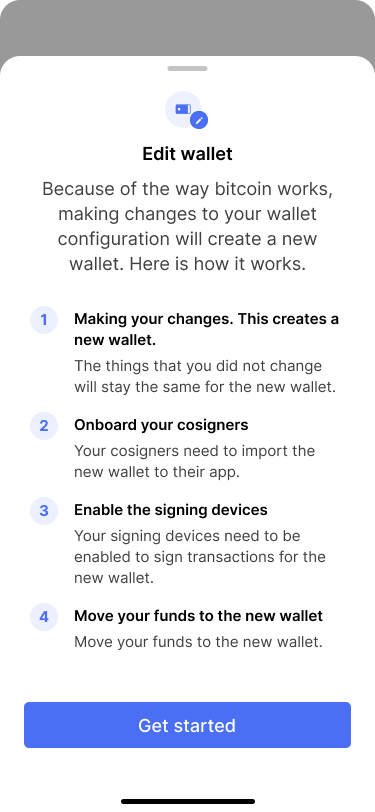
The dialog clearly outlines how the process works and what comes after making the changes.
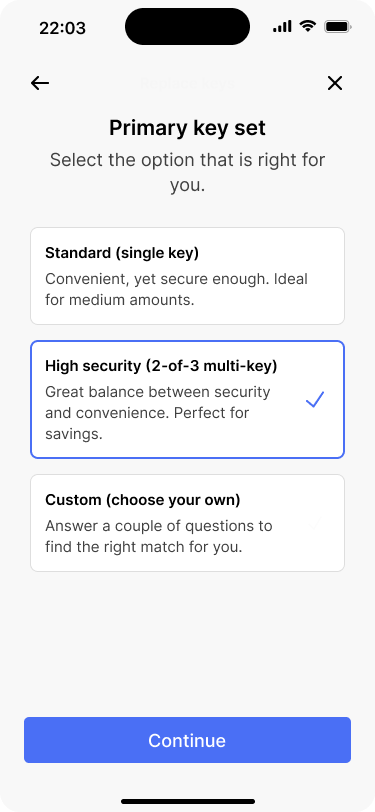
The app prefills the selection from the current configuration.
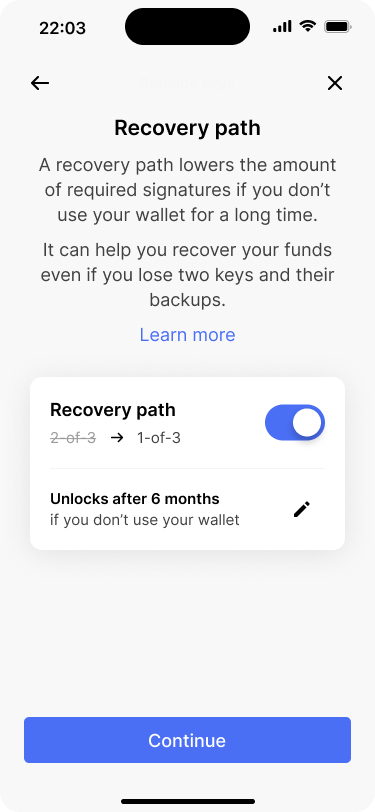
Bob wants to edit the timelock for the recovery path.
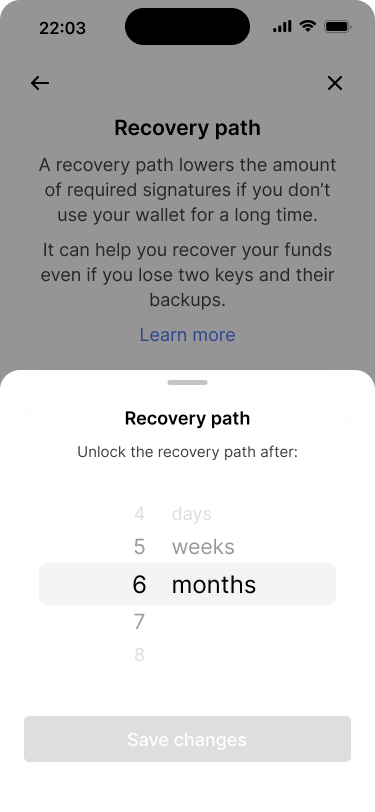
The current configuration is preselected.
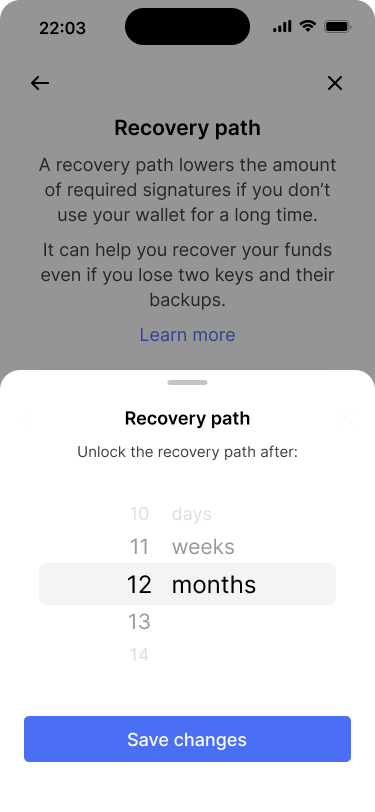
Bob changes the timelock to 12 months and saves the changes.
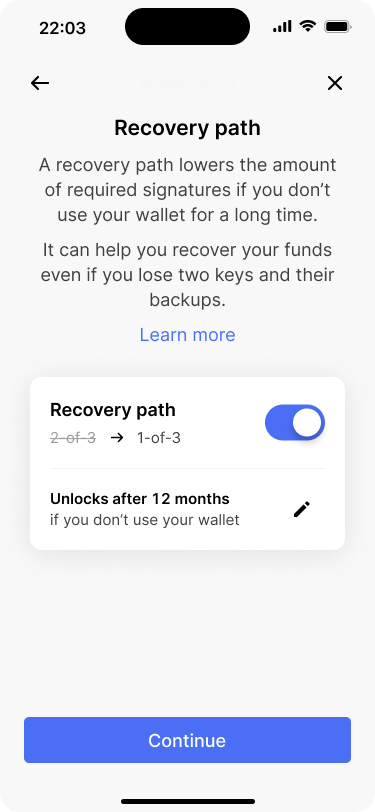
The timelock is updated on the recovery path overview screen.
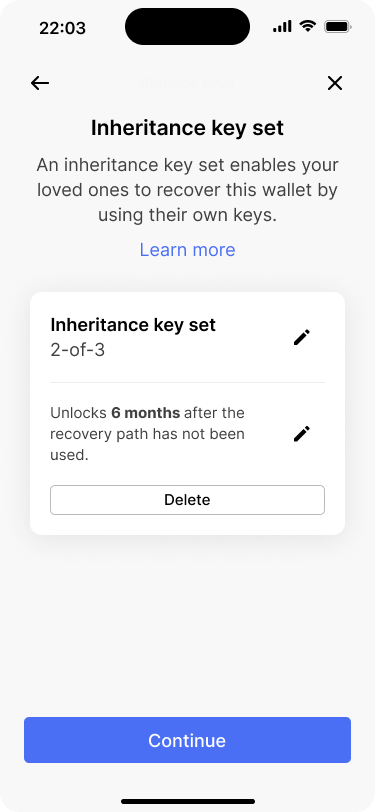
Bob changes the timelock for the inheritance key set from 6 to 12 months.
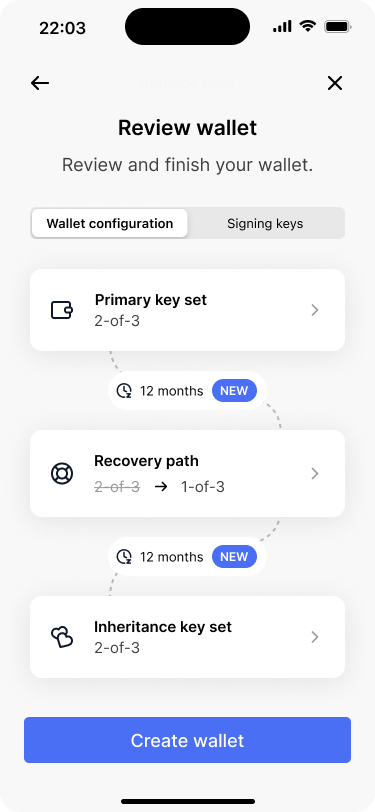
The review screen clearly indicates the changes that Bob has made.

The new wallet has been created and added to the home screen.