
Cosigner onboarding
In the previous step, Bob used our application to create the wallet. The next step is to get Alice set up as a cosigner and to enable her to sign transactions. To do this Alice needs to:
- Import the wallet configuration to her app
- Activate the wallet on her BitBox, by importing the wallet configuration to the device
It’s important to understand that importing the wallet to the phone does not enable Alice to sign transactions yet. Her signing key is held on her BitBox, as we have covered on the wallet creation page. Both, the wallet app on her phone and the signing device need to know about the wallet configuration, so that they can work together to sign transactions.
Bob shares the wallet configuration with Alice #
The first step is to import the family savings wallet to Alice’s app. By tapping the “onboard cosigner” task, Bob can display a QR code that Alice scans to import the wallet configuration. Alternatively, Bob can share the configuration over a secure messaging channel if Alice is elsewhere.
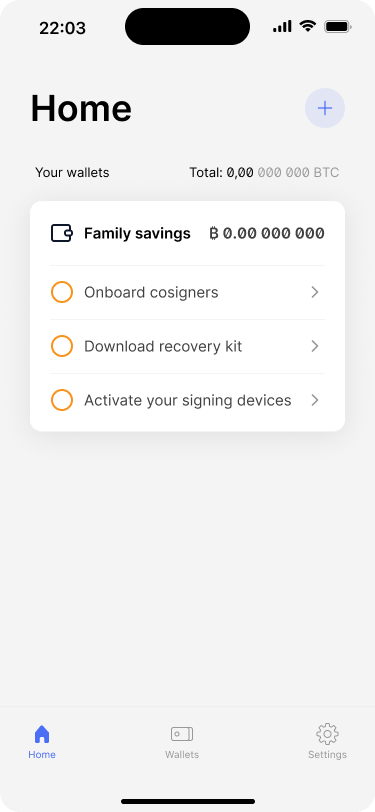
A contextual task list helps users to complete all the necessary steps to safely use their new wallet.
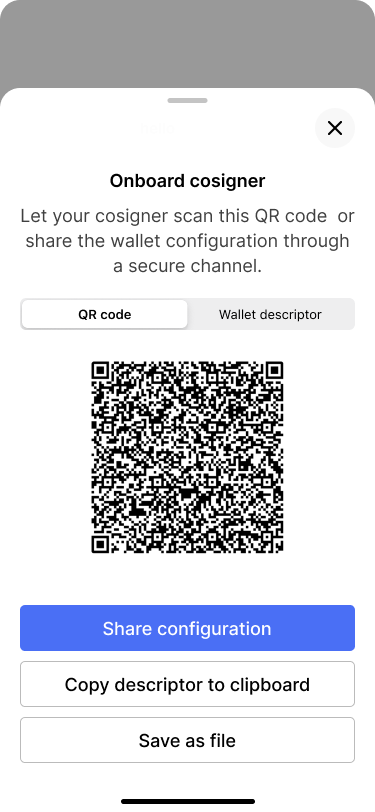
Bob exports the wallet configuration, so that Alice can set up the wallet on her phone.
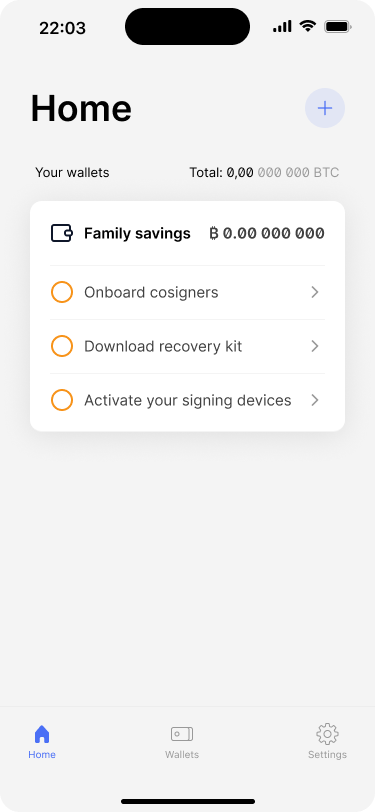
After Alice has successfully set up the wallet on her end, Bob checks off the task.
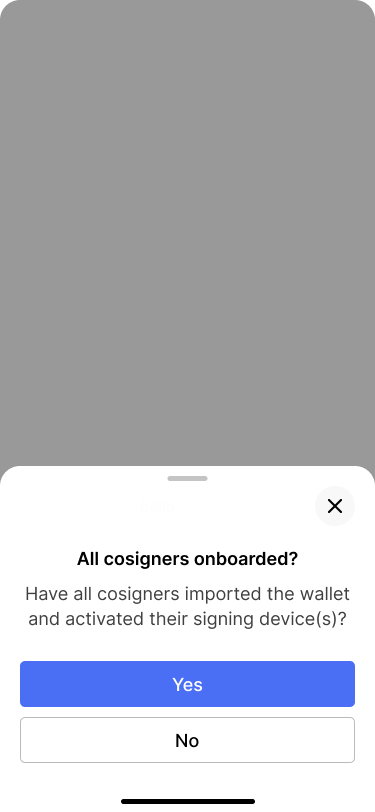
Bob confirms that all cosigners have been onboarded. In our use case, Bob and Alice are the only cosigners.
The cosigner onboarding task is gone from the list and Bob can continue with the next task.
The app also shows an option to view the wallet descriptor, which is a small piece of text that contains all the information that a wallet application needs to recover a multi-key wallet. We will cover this topic in more detail in the following chapter about the wallet backup.
Alice imports the wallet to her app #
Alice scans the QR code from Bob’s phone to import the wallet to her app. She reviews the final wallet configuration and hits “add wallet”.
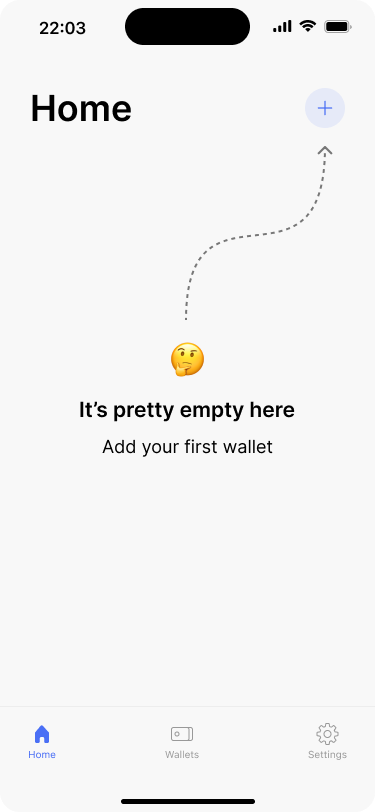
Alice taps the plus button to start adding the wallet.
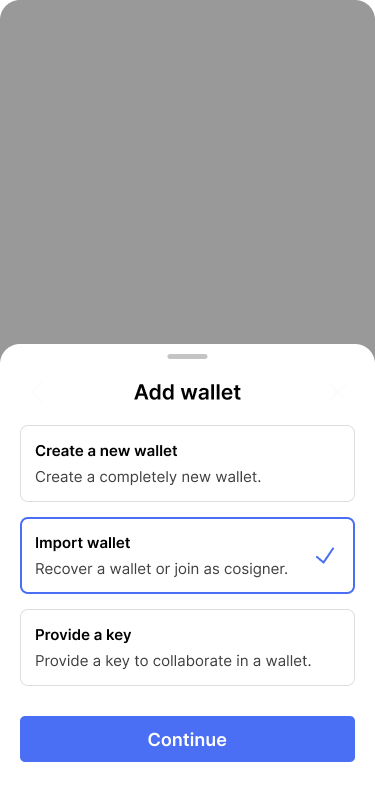
She selects “Recover an existing wallet”
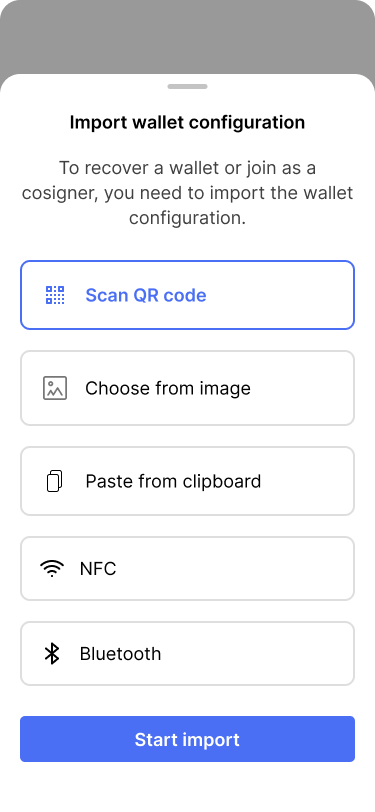
The easiest way to import the configuration is to scan the QR code from Bob’s screen.

Alice scans the QR code.
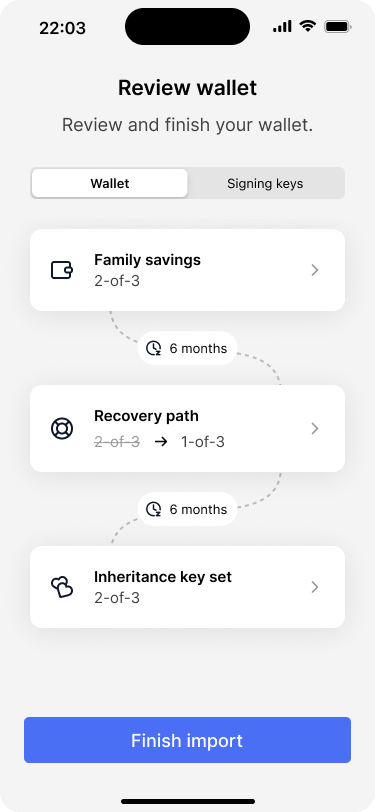
Alice reviews the wallet configuration and finishes the import.
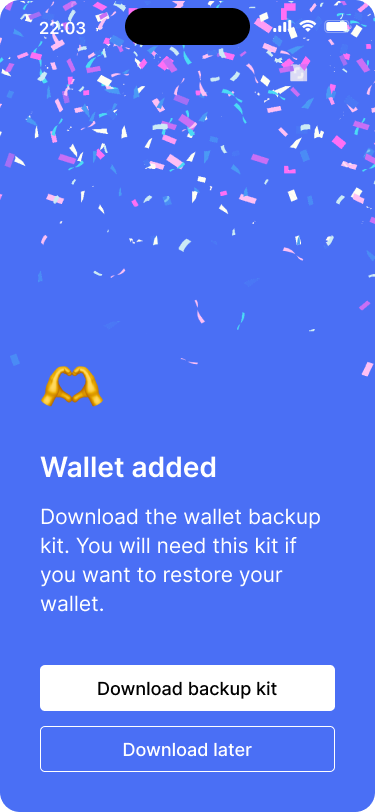
On the success screen the app prompts Alice to download the wallet backup kit. She will do that later.
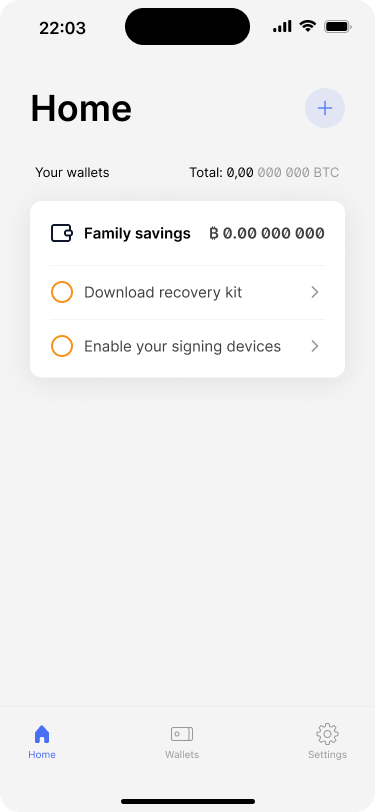
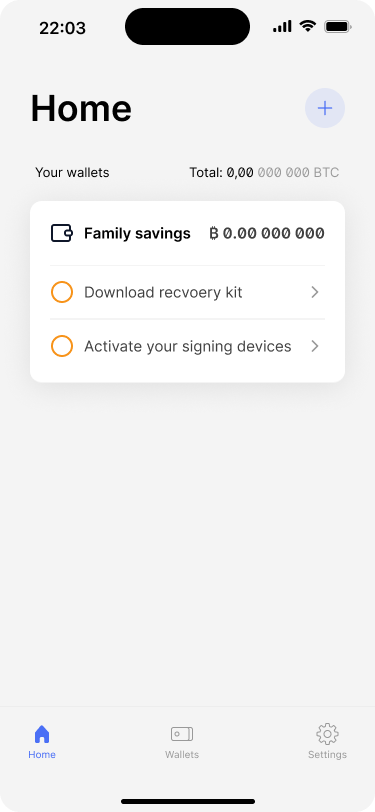
Back on the home screen, Alice sees that she should download the backup kit and enable her signing device.
After the wallet has been added, the app home screen shows the wallet, along with a task list that reminds her to:
- Save the wallet recovery kit
- Activate her signing device
Alice activates the wallet on her BitBox #
Alice taps on the reminder and imports the wallet configuration to the BitBox.
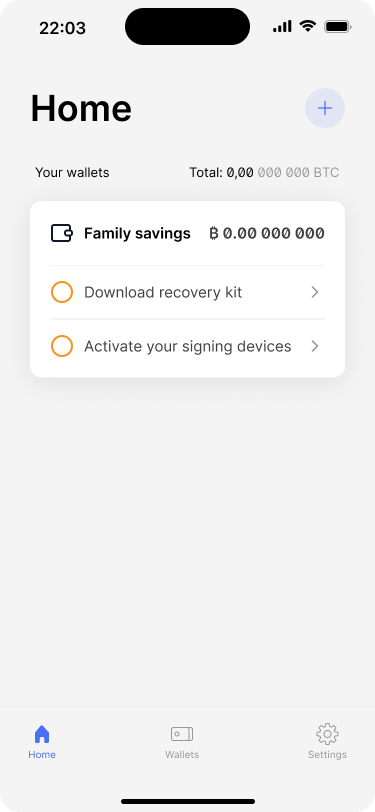
Alice is ready to enable her BitBox to sign transactions for the wallet.
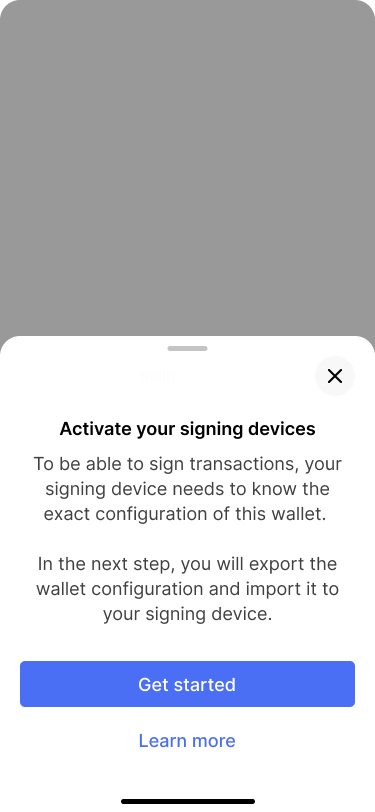
The app tells her what this step is about and how it works.
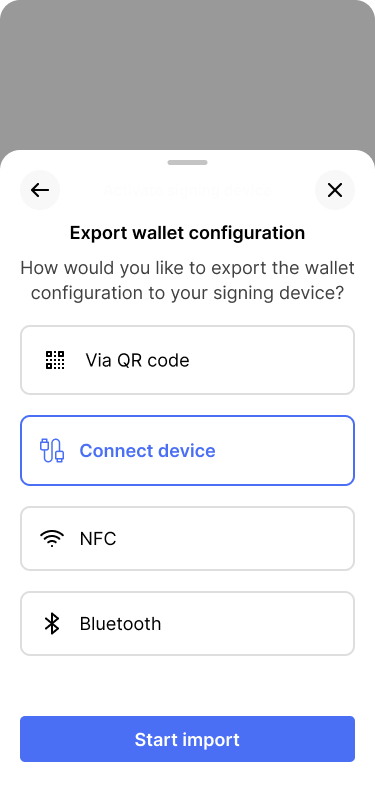
Alice connects her BitBox via USB-C to export the wallet configuration.

The app guides her through the import flow on her BitBox.
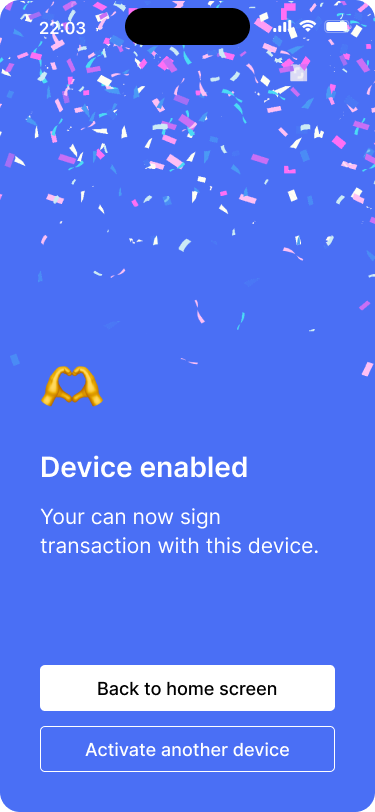
On the success screen, the app shows the option to enable another signing device.
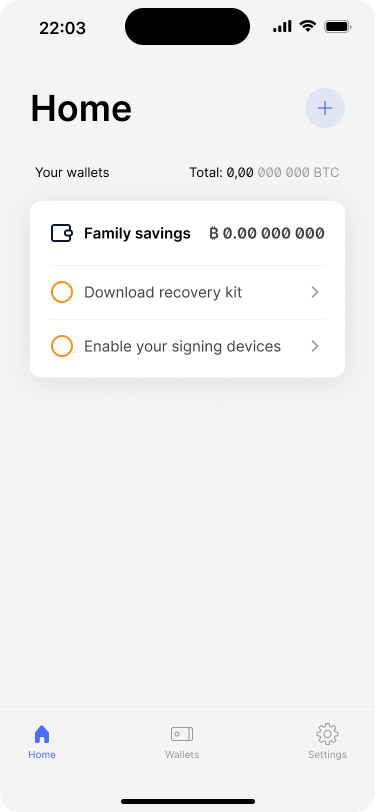
On the home screen, Alice checks off the task.
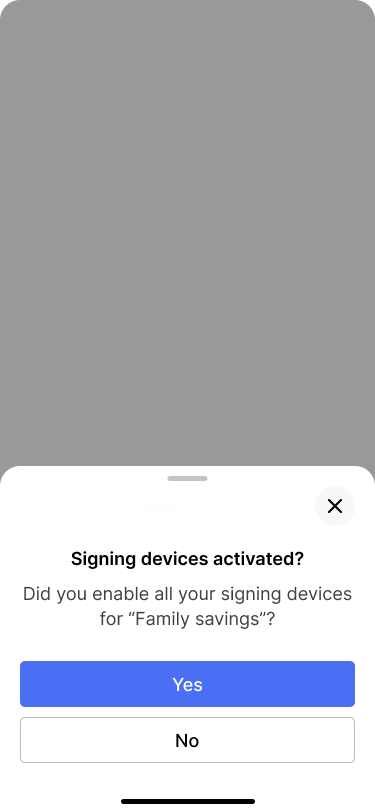
The app asks whether she has enabled all signing devices.
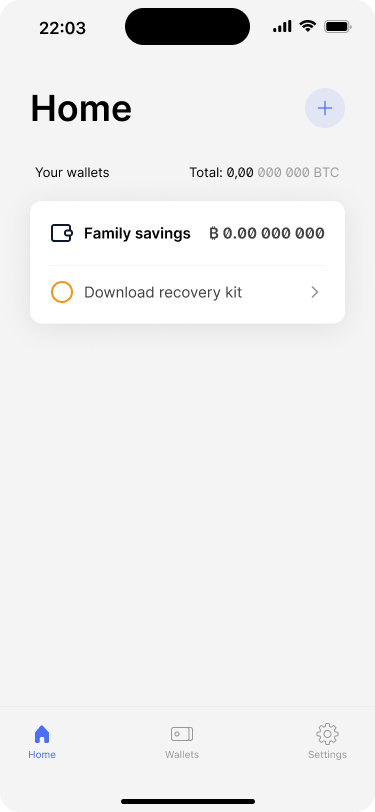
The last thing to do is to download the wallet backup kit.
After Alice has successfully activated the wallet on her BitBox, Bob checks off the “Onboard cosigners” task on his end. For our application, this is a manual step, because it does not run a server that coordinates activity between the users. This adds a bit more friction to the user experience but minimizes reliance on the wallet provider.
While Alice was busy getting set up, Bob followed the same procedure to activate the wallet on his Trezor, as well as on the shared ColdCard, which they store in a safe location away from their home.
The wallet is ready #
The family savings wallet is now fully functional:
- Bob and Alice now have access to the shared wallet
- They can view the wallet and its balance in their respective apps
- Both can initiate and sign transactions using their respective devices
- Neither their children nor their lawyer have access to the wallet, as the wallet configuration has not been shared with them
On the next page we will look into how the couple backs up the wallet.